Installation Introduction A
An introduction and overview of how to safely install your Clopay overhead garage door. Part 1 of 2.
Clopay Corporation
2:39 min

Are you trying to decide if you want to install a new garage door yourself or have it done by a professional? Review the guides and how to install a garage door videos below to help you decide the best option for your project. A DIY garage door install typically takes 8 to 10 hours. You'll need the right tools, AND, since garage doors can weigh up to 400 pounds, you also need one or two helpers.
First things first: unless you modify the size of the door opening, you’ll need to install the same size garage door that you currently have. Standard single doors are 7 ft. high by 8 or 9 ft. wide. A standard double garage door is 7 ft. high by 16 ft. wide. Because double doors are so large, few home centers and only some garage door stores keep them in stock, so expect to order one instead of buying it off the shelf.
Garage doors are available in steel, faux wood composite, aluminum and glass or natural wood, and come in a variety of styles including traditional panel designs, carriage house or modern looks. The cost of the door is based on the size and material as well as factors like the insulation type and thickness, the addition of windows and the door finish.
When you install a new garage door, you’ll be replacing the track and hardware as well. While it may be tempting to re-use the existing hardware, there isn’t any cost savings involved, and the new hardware is designed specifically to work with the weight and configuration of the door.
Use the drawing and instructions below to measure your existing garage door. Take these measurements to your local installing dealer or retailer to purchase the Clopay® garage door that is right for you.
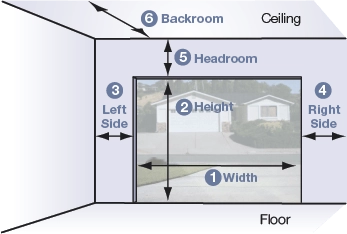
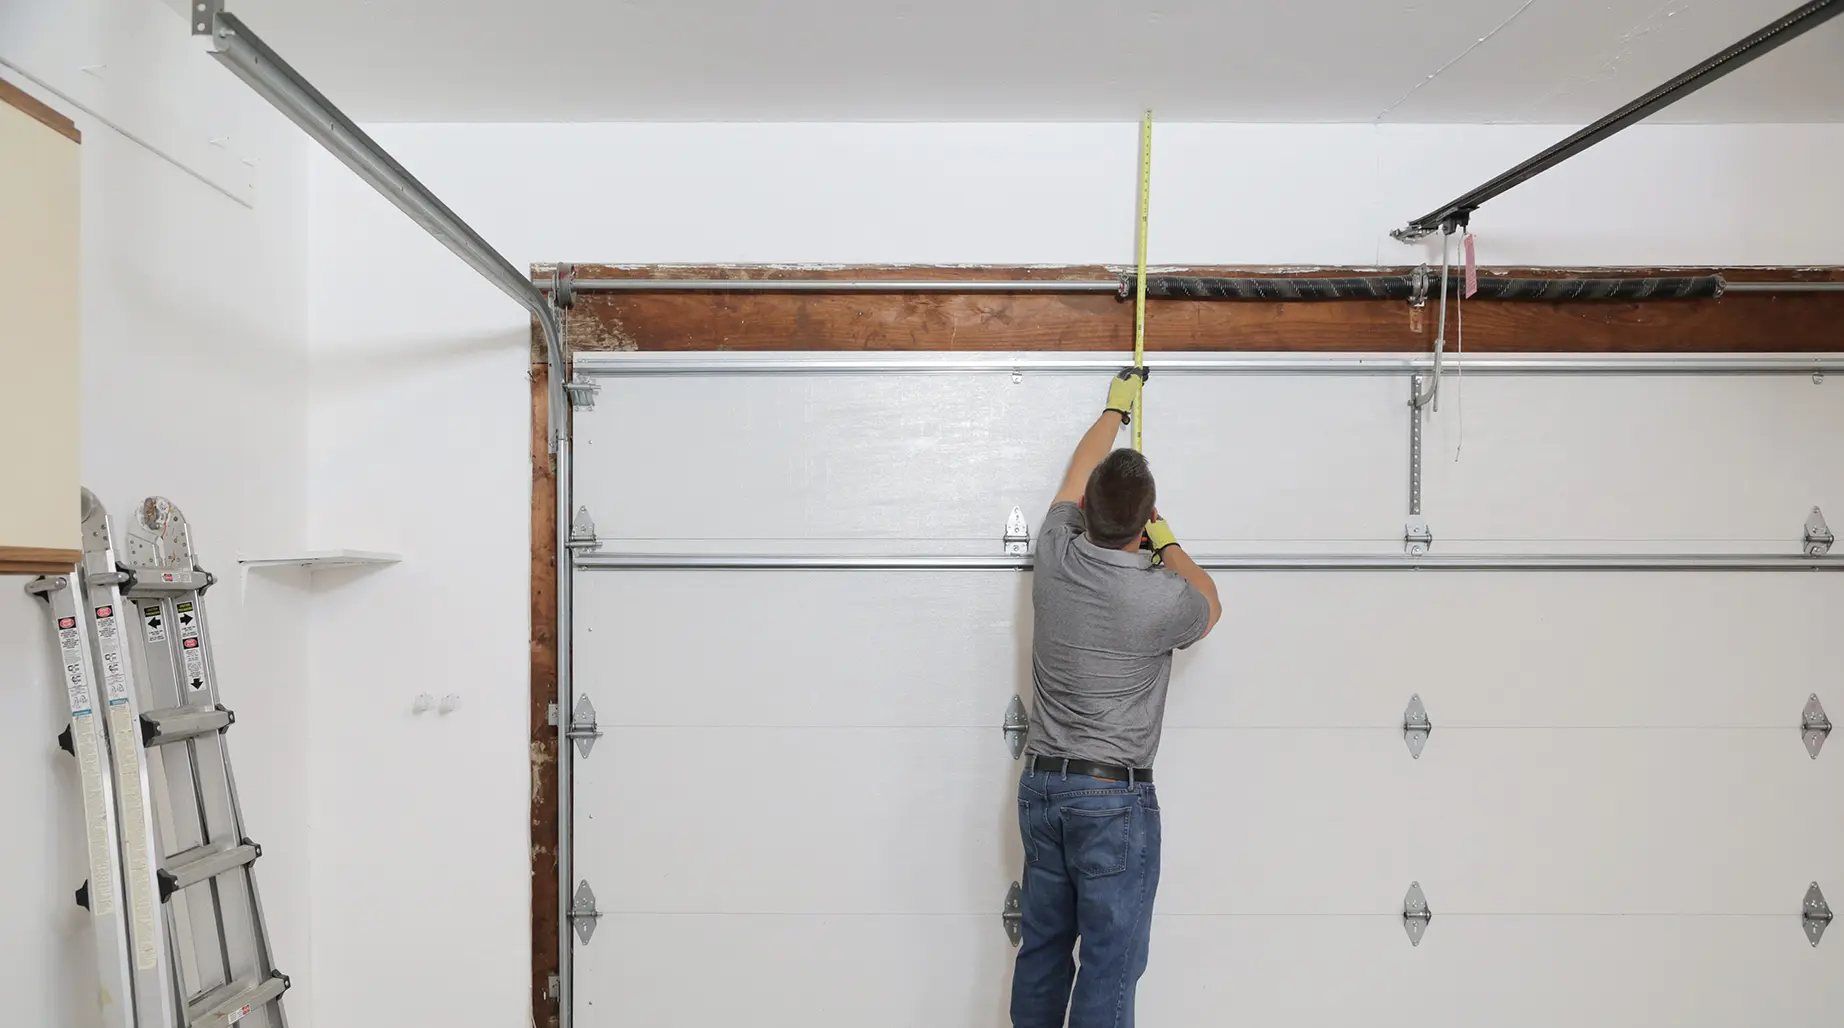
Measure the width and height (1 and 2) of your door opening in feet and inches to determine the garage door size you need. The rough opening should be the same size as the door.
Measure area labeled sideroom left and right (3 and 4) - a minimum 3-3/4" is required on each side for installation of the vertical track for a standard extension spring, standard torsion spring and the EZ-SET® Torsion Spring System; 5-1/2" for the EZ-SET® Extension Spring System.
Measure area labeled headroom (5), which is the distance between the top of the door opening (jamb header) and the ceiling (or floor joist). 10" is required for the standard extension spring or EZ-SET® Extension Spring System while 12" is required for a standard torsion spring and EZ-SET® Torsion Spring System. If you have restricted headroom, special hardware is available. Additional headroom is required for installation of an automatic garage door opener. NOTE: If garage door height extends above the opening, the headroom measurement should be adjusted proportionately.
Measure area labeled backroom (6) – distance is measured from the garage door opening toward the back wall of the garage. Door height plus 18" is required. Additional back room may be required for automatic garage door opener installation.
While it is possible to install your Clopay garage door on your own, you can get additional peace of mind by getting professional installation by a Clopay Dealer. Clopay also offers a 1-year installation warranty on replacement garage doors installed by an Elite Authorized, Master Authorized or Advanced Authorized Clopay Dealer.
Installing a garage door may be an opportunity to clean out and reorganize the garage, but it isn’t necessary. You’ll need to park cars elsewhere for a few hours and make sure trash cans, bikes toys and any other large items are outside the garage or moved to the very back of it, out of the way of the door opening, track and opener.
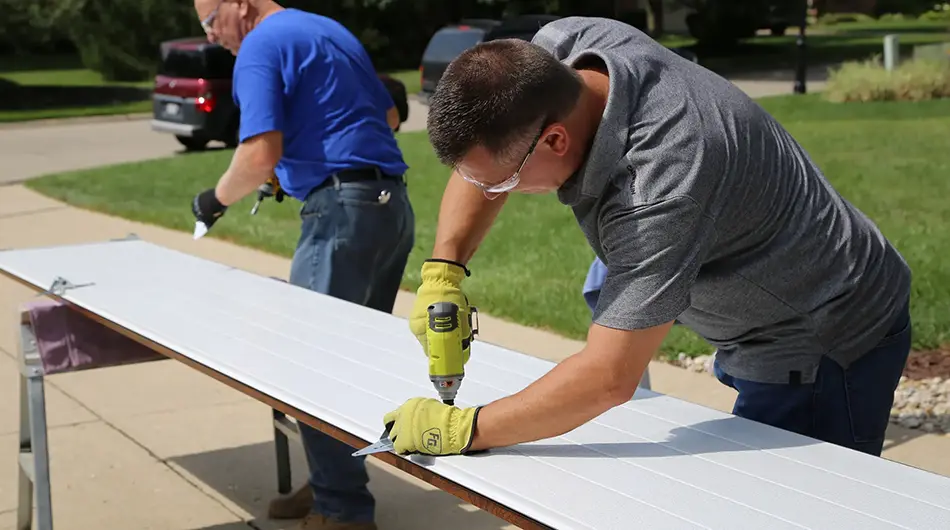
Start by unpacking the new door and organizing the parts. Make sure you have everything you need and have reviewed the how to install a garage door video series on our website before you remove the existing garage door.
Here is a list of tools and materials you’ll need to have on hand to complete the garage door install.
While it is possible to install your Clopay garage door on your own, you can get additional peace of mind by getting professional installation by a Clopay Dealer. Clopay also offers a 1-year installation warranty on replacement garage doors installed by an Elite Authorized, Master Authorized or Advanced Authorized Clopay Dealer.
See illustrated installation instructions included with all Clopay® garage doors.
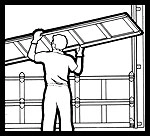
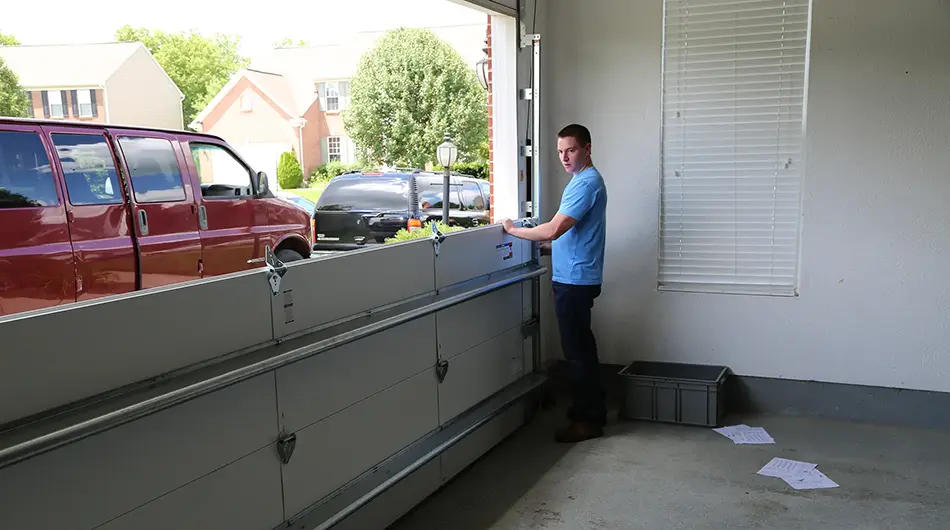
Remove existing garage door.
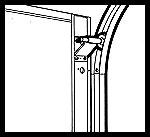
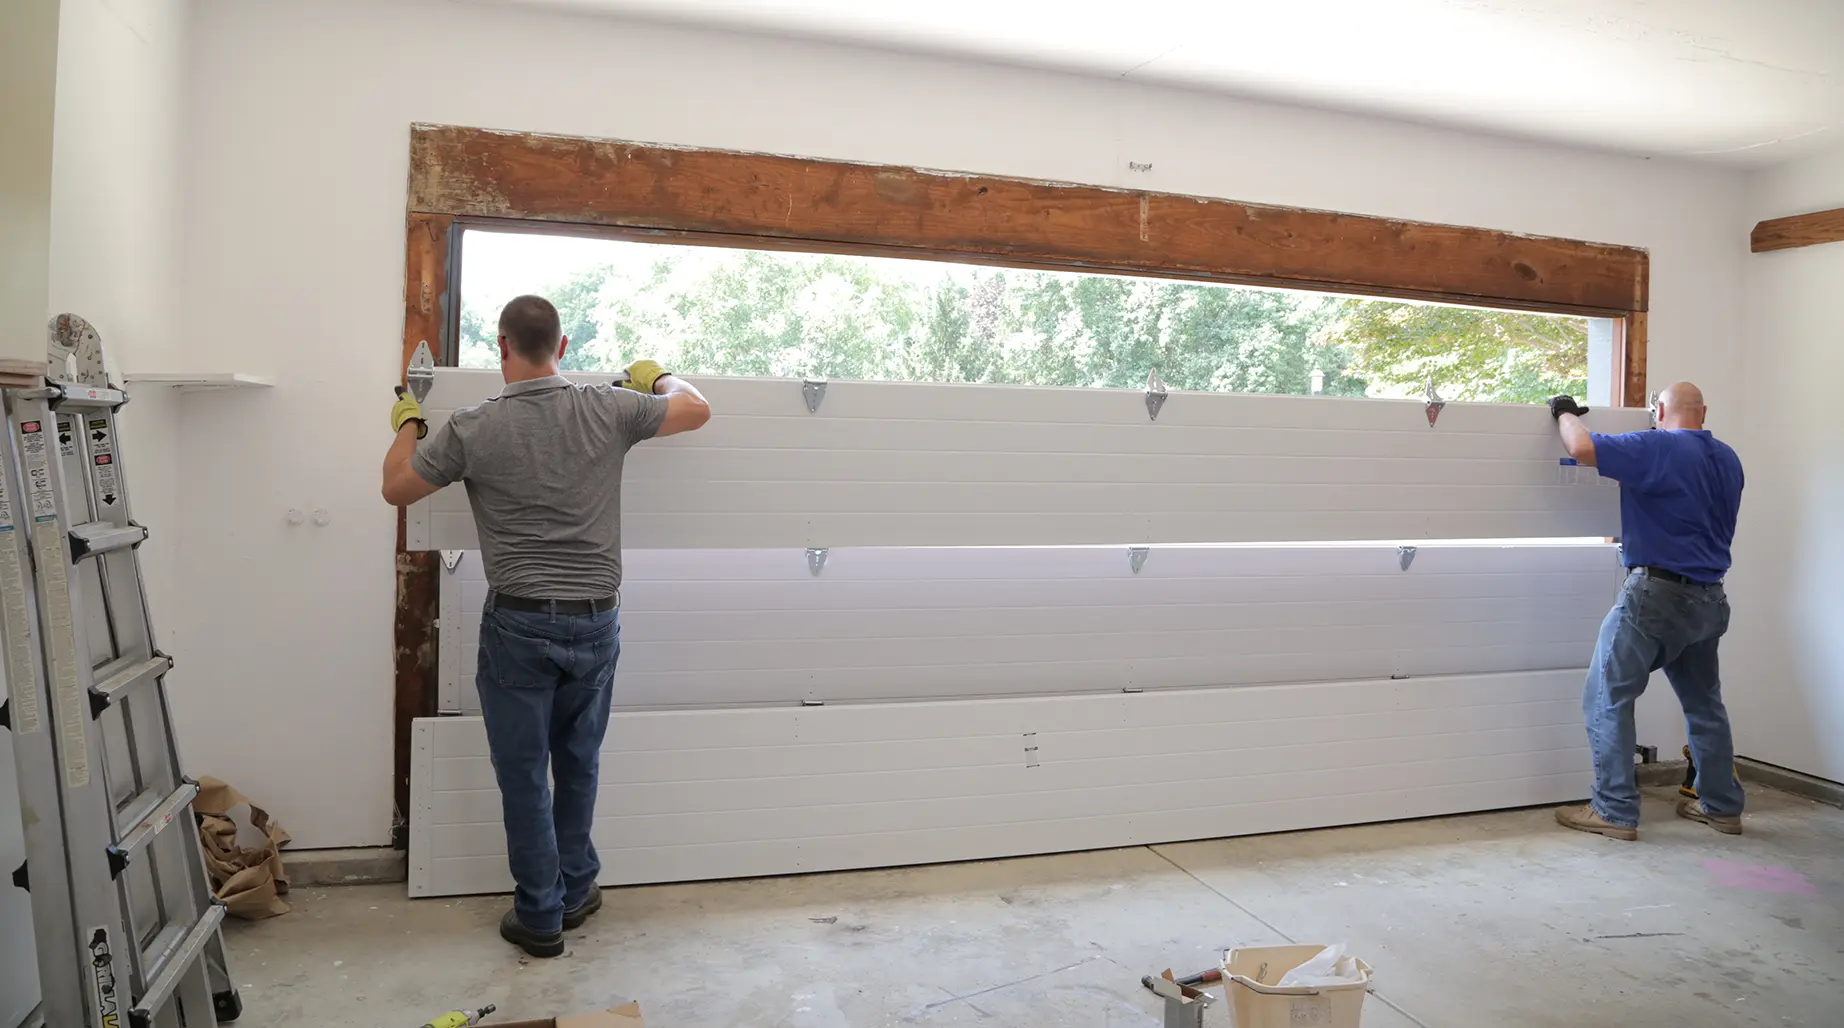
Attach hardware to door section.
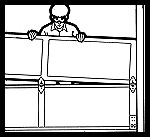
Place sections in opening.
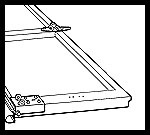
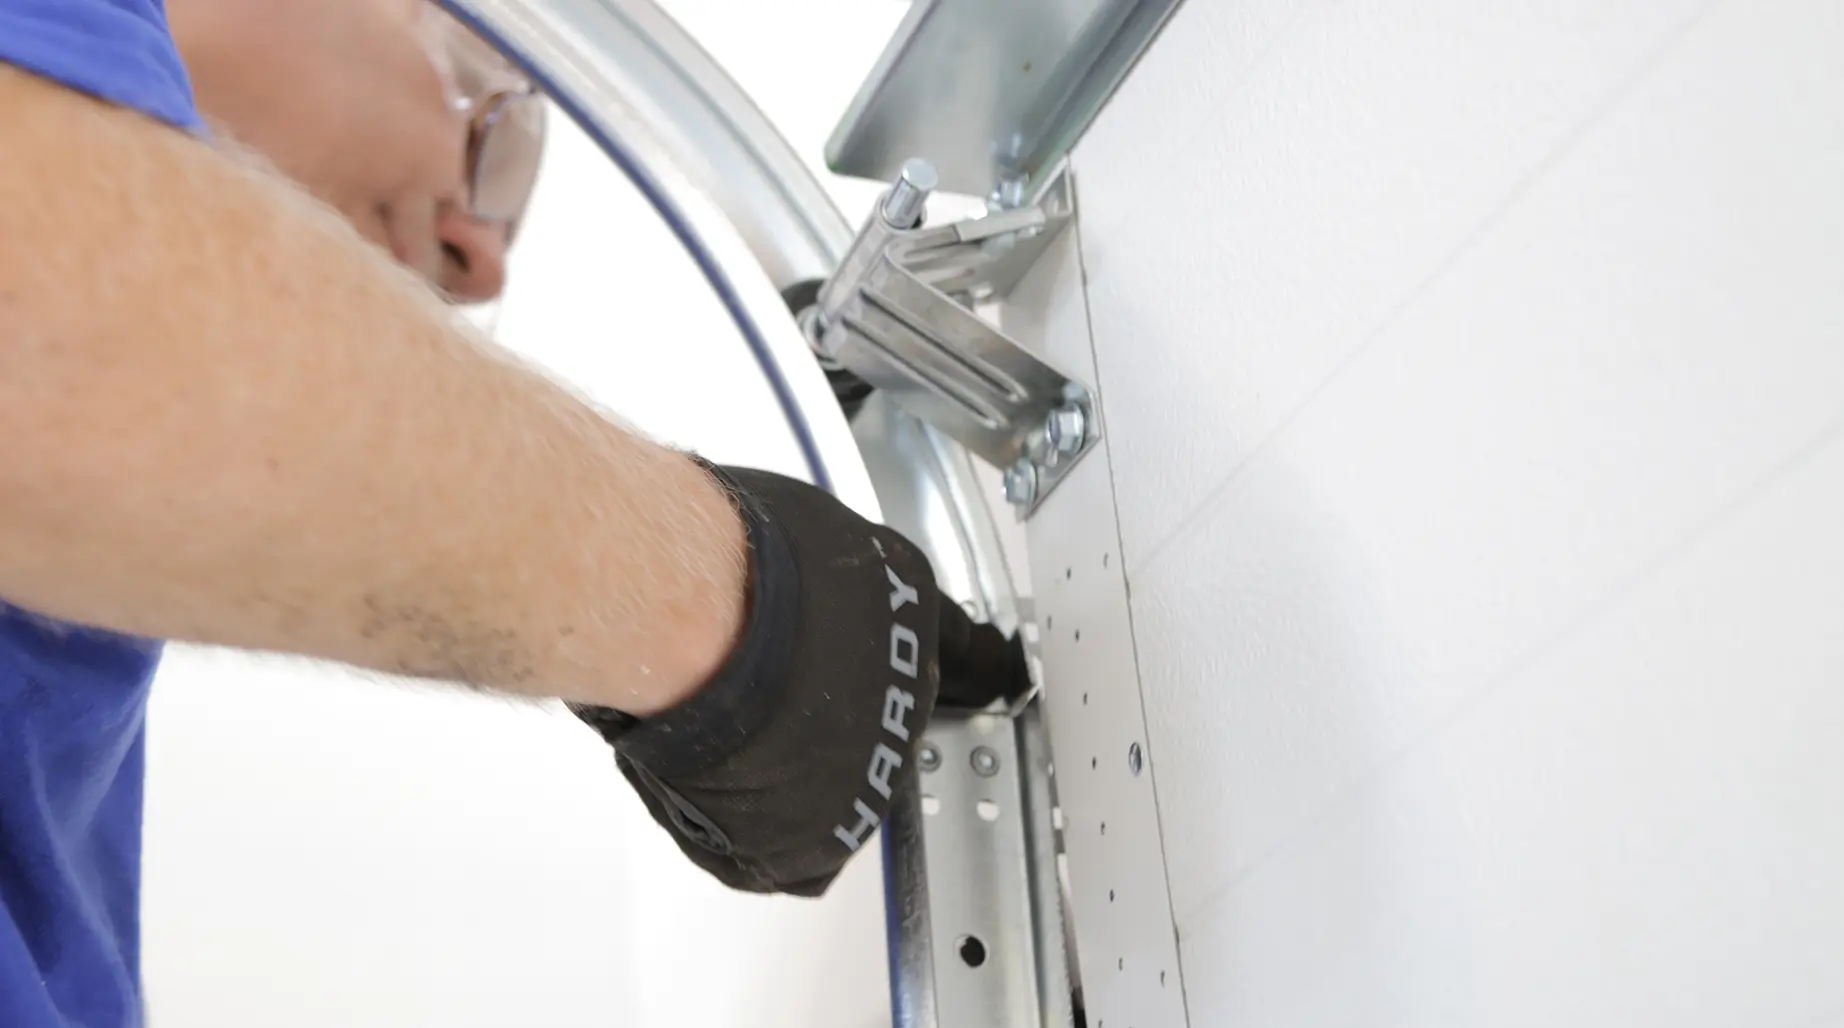
Install track, insert rollers.

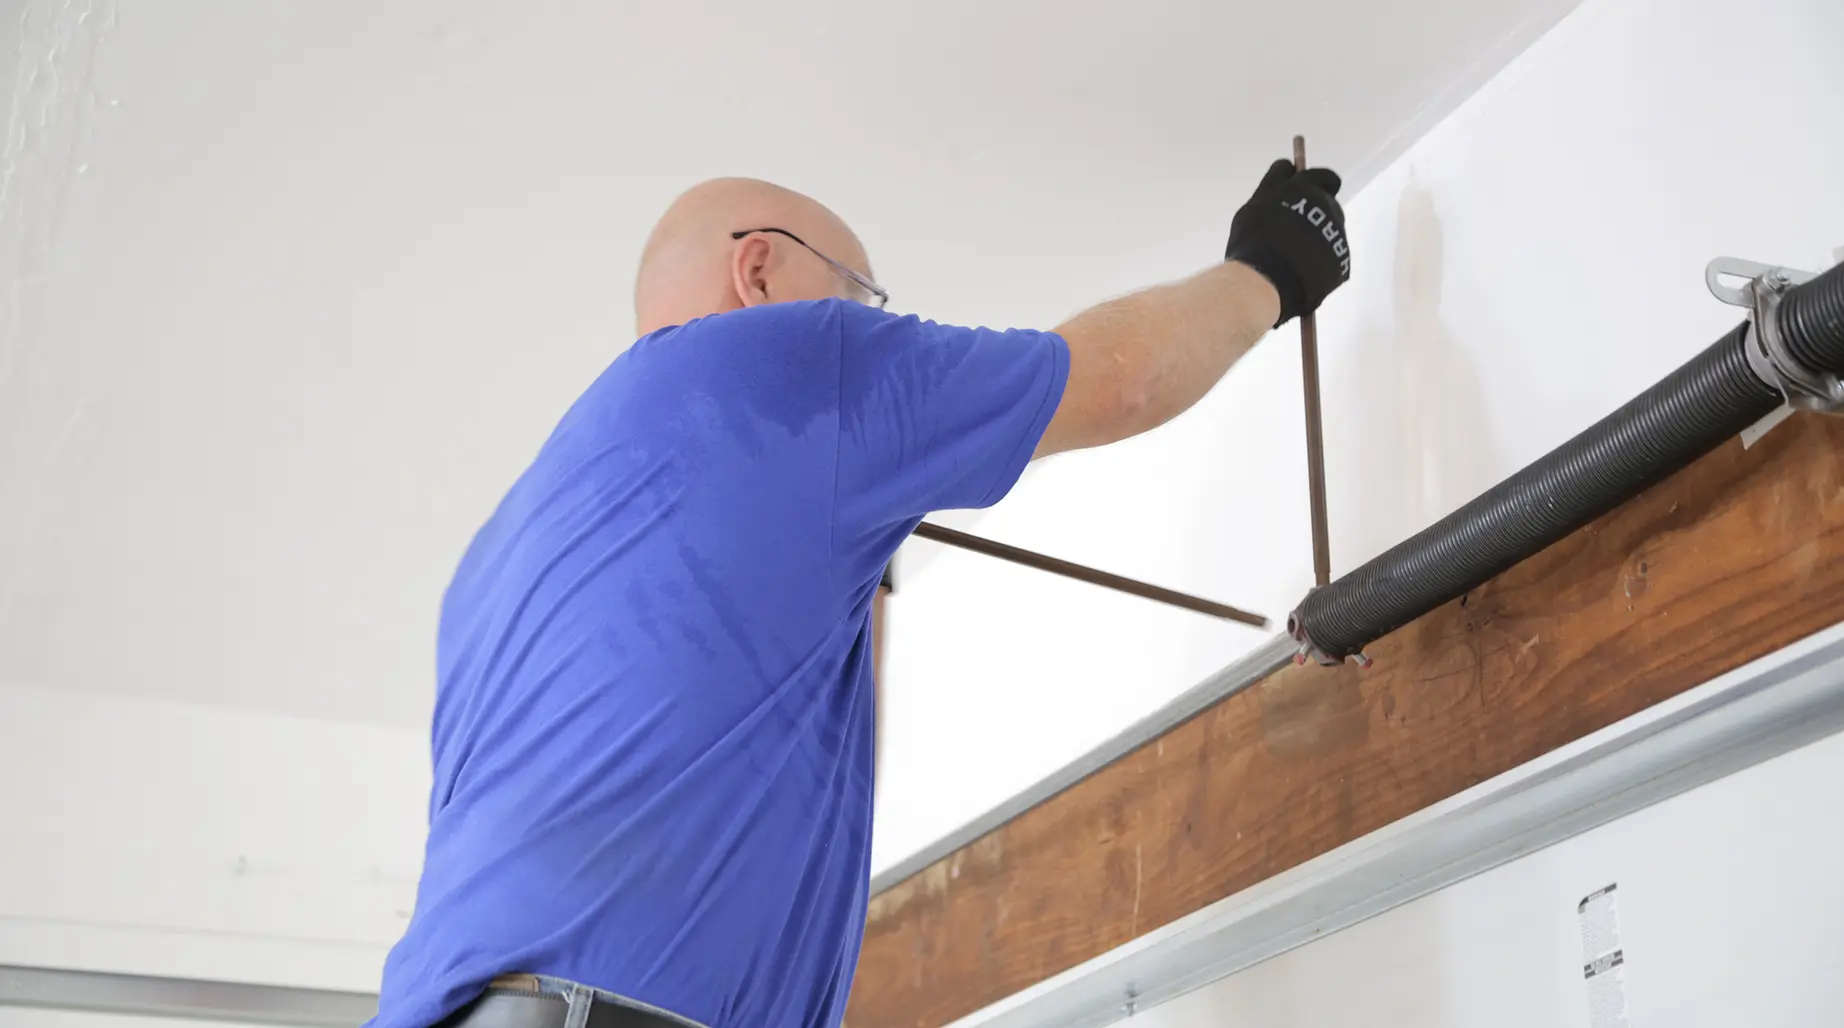
Attach springs and connect cables.
Call our installation help line at 1-800-2CLOPAY (1-800-225-6729) with any questions.
An illustrated manual outlines every step of the garage door installation process.
Our installation how-to videos cover the entire process from the tools required to measuring and installing the door.
Your new garage door will need regular inspection, lubrication and cleaning. The following checklists will help keep your door and its parts in good working order and help protect it from the elements.
Visually inspect the door when in it’s in the down position for:
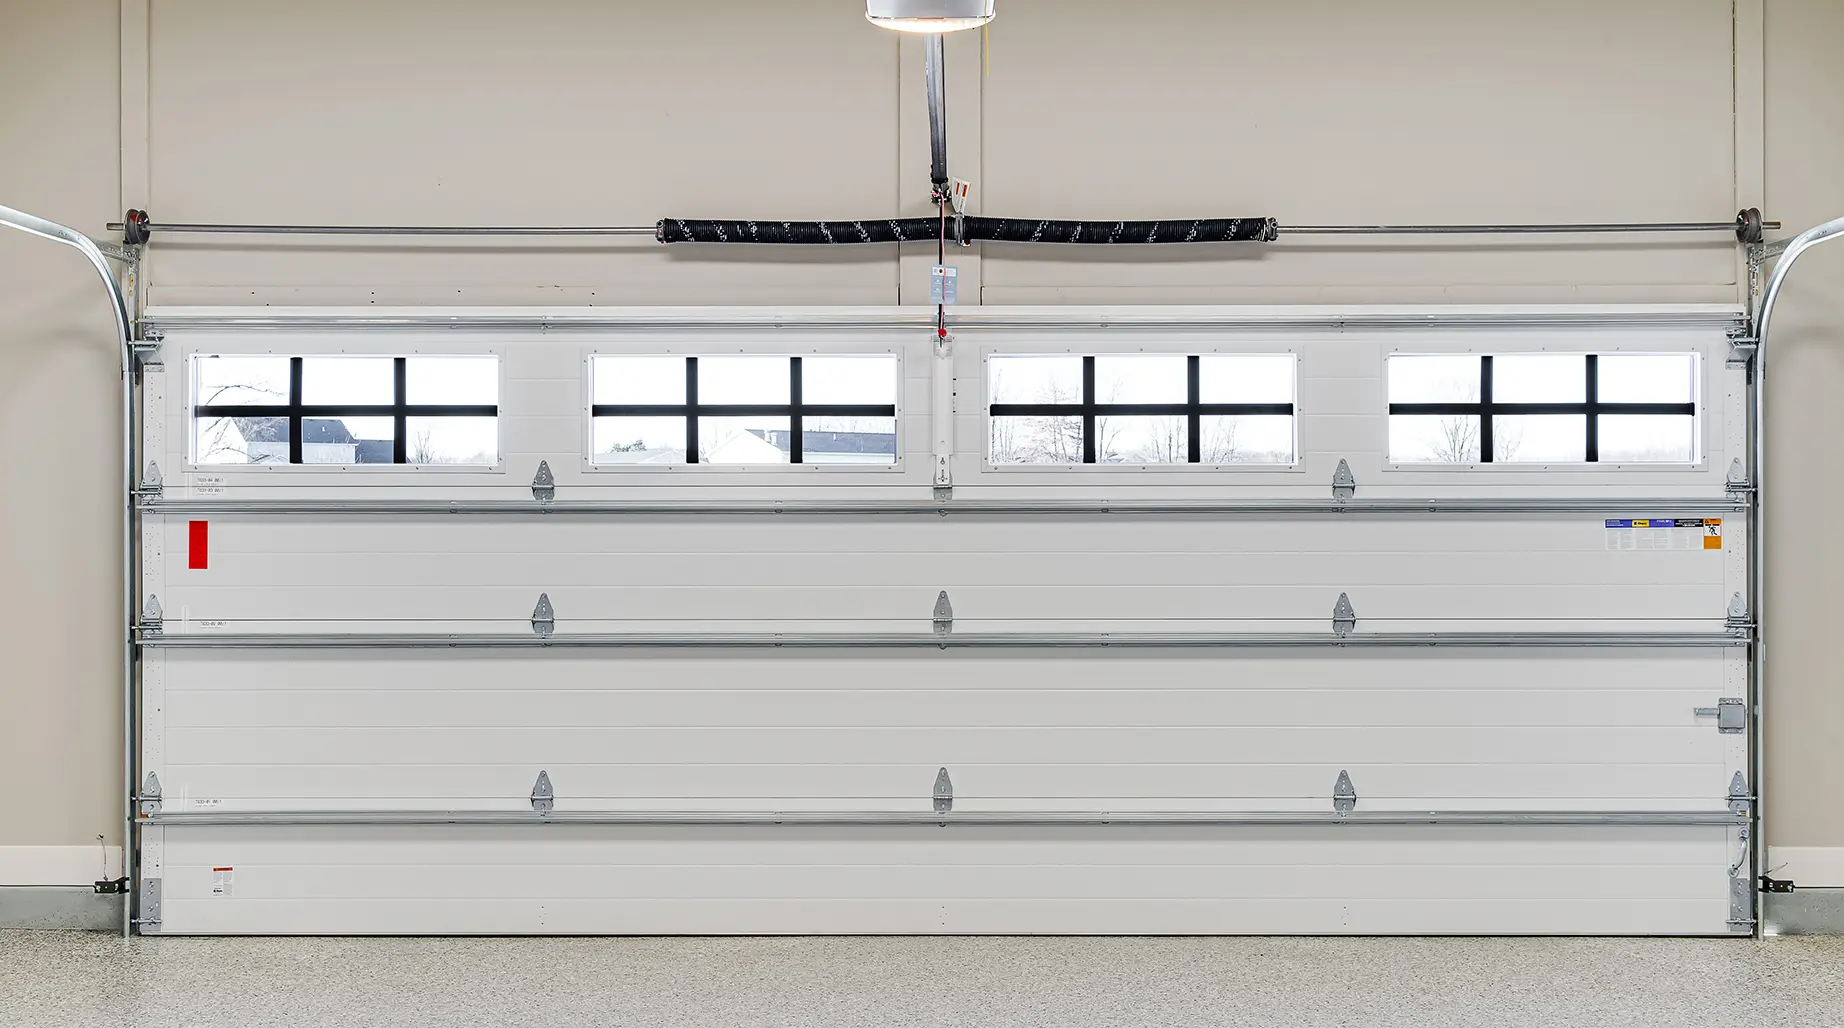
Containment cables: When old extension springs break, the springs and cables become heavy whips that damage cars and even injure people. To solve the problem, manufacturers use containment cables that run through the center of side-mounted extension springs. If you have extension springs and don’t plan to replace your door, make sure the springs have these containment cables, or have a professional install them.
Safe automatic door openers: All automatic openers must now have an auto-reversing mechanism and photoelectric eyes located near the floor on both sides of the door (see photo). If the door is closing and the beam between the eyes is interrupted, the door will automatically reverse. If the eyes aren’t connected, the door won’t operate.
Securely mounted hardware and rails: Torsion spring brackets should be firmly mounted to the wooden header above the door. Roller track support brackets and the opener should be securely bolted to the rafters.
Annual maintenance: Make an annual check of all nuts and bolts on rails and rollers to make sure they’re firmly tightened. Check the condition of all cables to make sure they’re not worn or frayed. Lubricate rollers and springs with a garage-door lubricant (see How to Fix a Noisy Garage Door for maintenance and problem-solving tips). The door should operate smoothly and be properly balanced. Check the balance by disconnecting the opener and lowering the door halfway- the door should hold its position. If it doesn’t, adjust the spring tension or replace the springs.
Opener switch location. Children like to play with automatic door openers. To prevent them from doing this, mount any opener switches at least 5 ft. above the floor.
At least twice per year, lubricate all moving parts of the door with Clopay Garage Door Pro Lube or a synthetic lubricant:
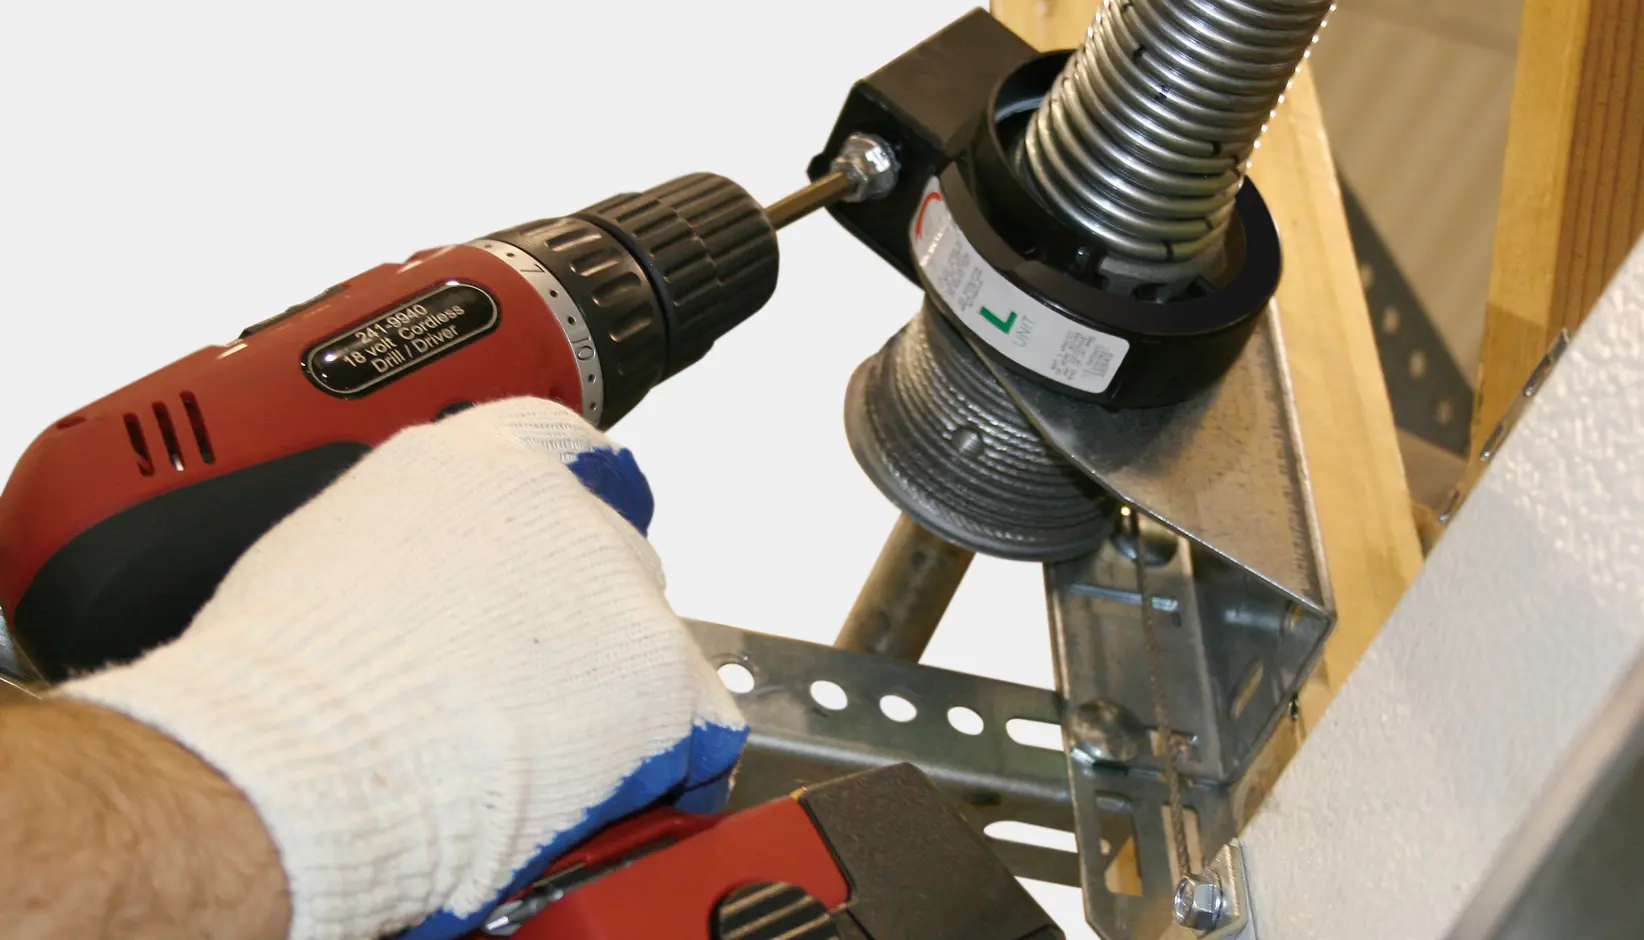
Any door pro will tell you the most difficult part of installing a garage door is setting the torsion spring tension with a manual winding bar. Our patented EZ-SET® Torsion Spring System makes installation faster, easier and safer by eliminating the manual winding process. Setting the tension is done with a power drill.
Review our Frequently Asked Questions or call our installation help line at 1-800-2CLOPAY (1-800-225-6729).
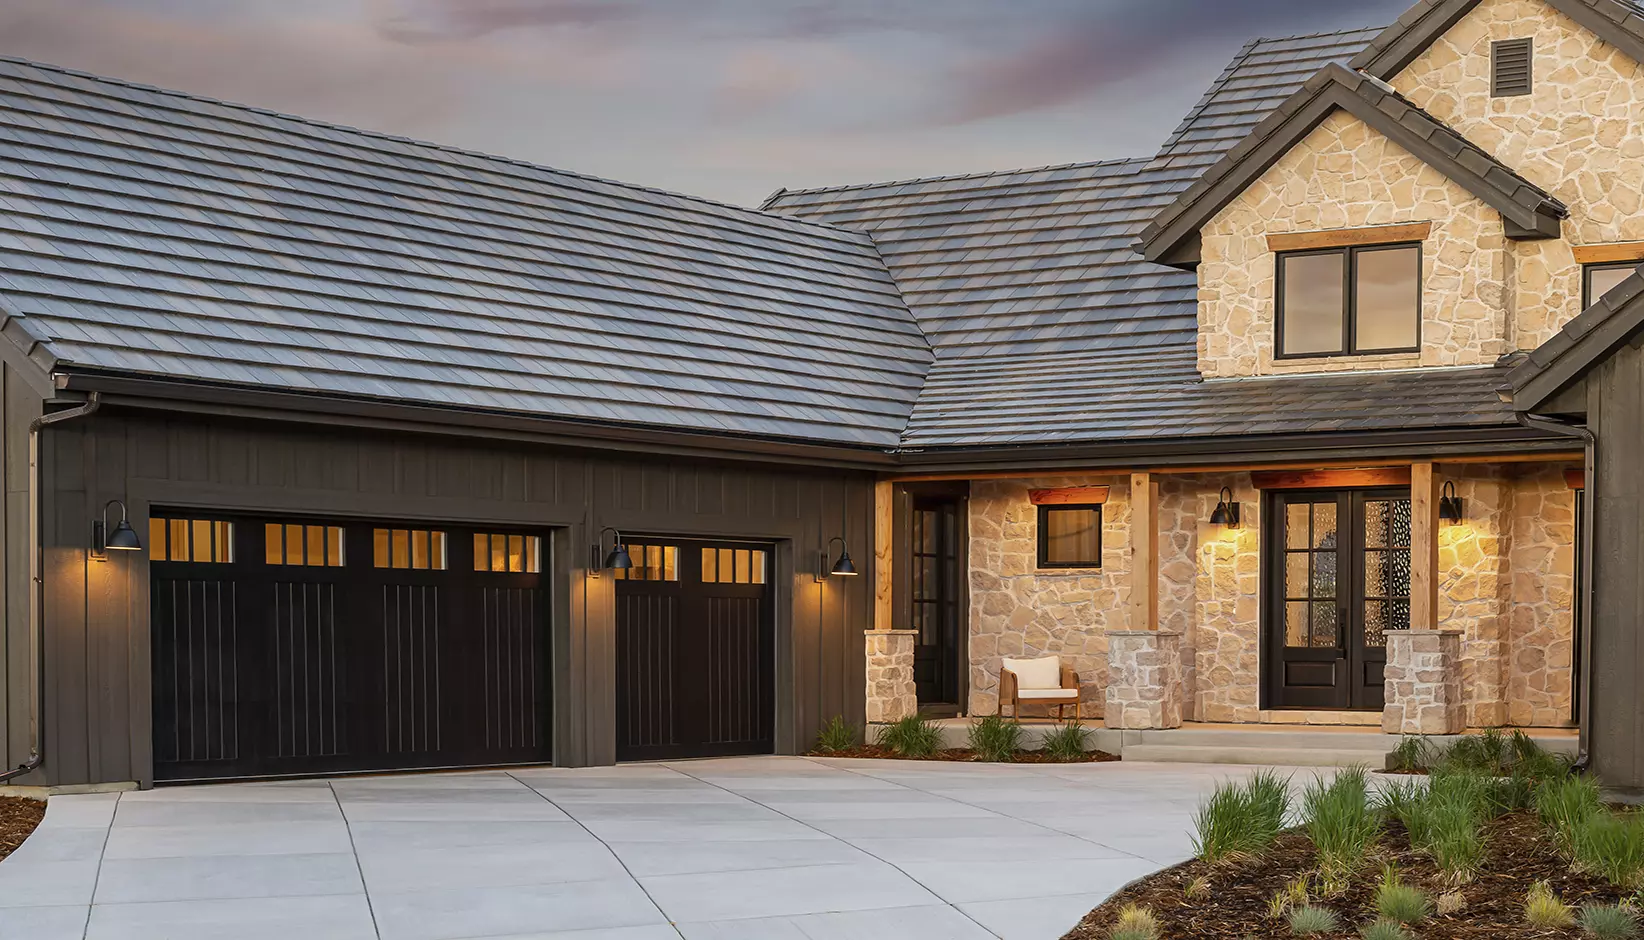
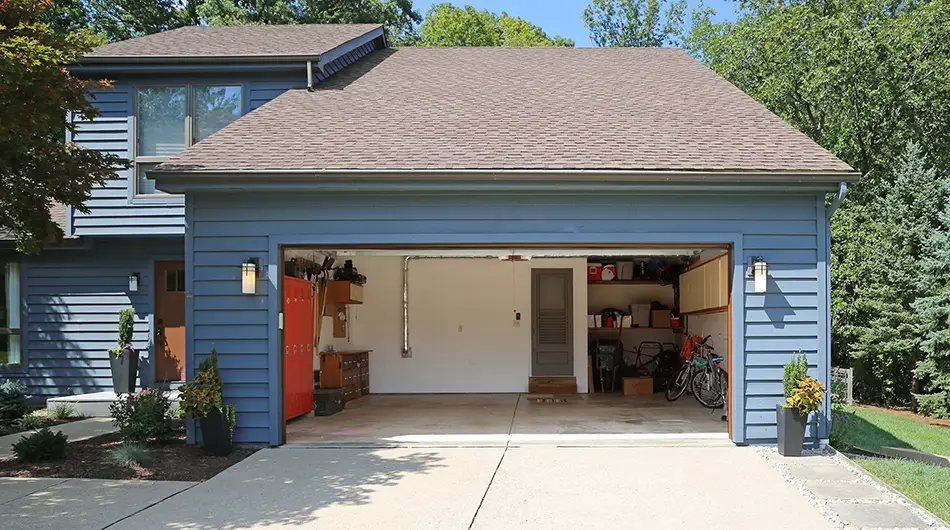
If your garage door is beginning to show its age -- maybe the sun, wind, snow and rain has given it an undesirable weathered look. Perhaps it’s starting to warp, rot or crack and the elements are now seeping through to your interior spaces. In those instances, a new garage door is necessary.
But also consider installing a new garage door as an opportunity to take your home’s curb appeal up a few notches! Especially if you’re still showcasing a plain, builder-grade version—just think of the impact a new style, color or material will have on your home’s appearance. Bonus: it’s a smart investment. Year after year, installing a new garage door ranks at the top for home improvements with the best ROI at resale.
Whether you choose to tackle garage door install yourself or hire a professional to do it for you, you can be certain that the project will transform your home in just one day. Use our EZDoor tool to upload a photo and try on a new door today.
Upgrade your garage door installation experience with professional help from a Clopay Dealer. Gain peace of mind and enjoy a 1-year installation warranty on replacement doors installed by an Elite Authorized, Master Authorized or Advanced Authorized Clopay Dealer.
Browse our installation videos below for guidance.
An introduction and overview of how to safely install your Clopay overhead garage door. Part 1 of 2.
An introduction and overview of how to safely install your Clopay overhead garage door. Part 2 of 2.
How to check for Headroom, Backroom & Sideroom for a garage door.
How to remove an existing garage door.

How to prepare the opening for a garage door installation.
How to prepare the bottom section of a Clopay overhead garage door for installation.
How to install the door sections of a Clopay overhead garage door.

How to reinforce the top section of a Clopay overhead garage door for mounting an automatic garage door opener.
How to assemble and install Clopay overhead garage door track. Part 1 of 2.
How to assemble and install Clopay overhead garage door track. Part 2 of 2.
How to attach the lift handle during the installation of a Clopay overhead garage door.
How to install the inside sliding bolt during the installation of a Clopay overhead garage door.
How to install standard torsion springs for a garage door.