Faded garage doors are a common sight, especially after years of sun, wind, and rain. The once-rich color can start to look washed out, leaving the house looking a little tired. This kind of wear can impact curb appeal and discourage potential buyers. Real estate experts note that faded garage doors can make a home look older than it is possibly affect property value.
But here’s the good news: you don’t have to buy a brand-new door to get things looking sharp again. In most cases, a DIY garage door restoration can bring back rich color and smooth finish, often for a fraction of the cost of replacement. With the right products and a little time, it’s possible to restore a faded garage door so it looks almost new.
Here we’ll go through the whole process, covering everything from the basic prep work to choosing the best paint for garage doors and break down how to repaint a garage door for lasting results.
Why Garage Doors Fade
Garage doors take a beating from the elements every single day, which is why faded garage doors are so common. The top culprit? Sun exposure. Ultraviolet (UV) rays break down paint pigments and finishes over time, causing colors to look dull or even chalky. If your garage door faces south or west and gets hit by strong sunlight all afternoon, you’ll probably notice fading sooner than on a shaded side.
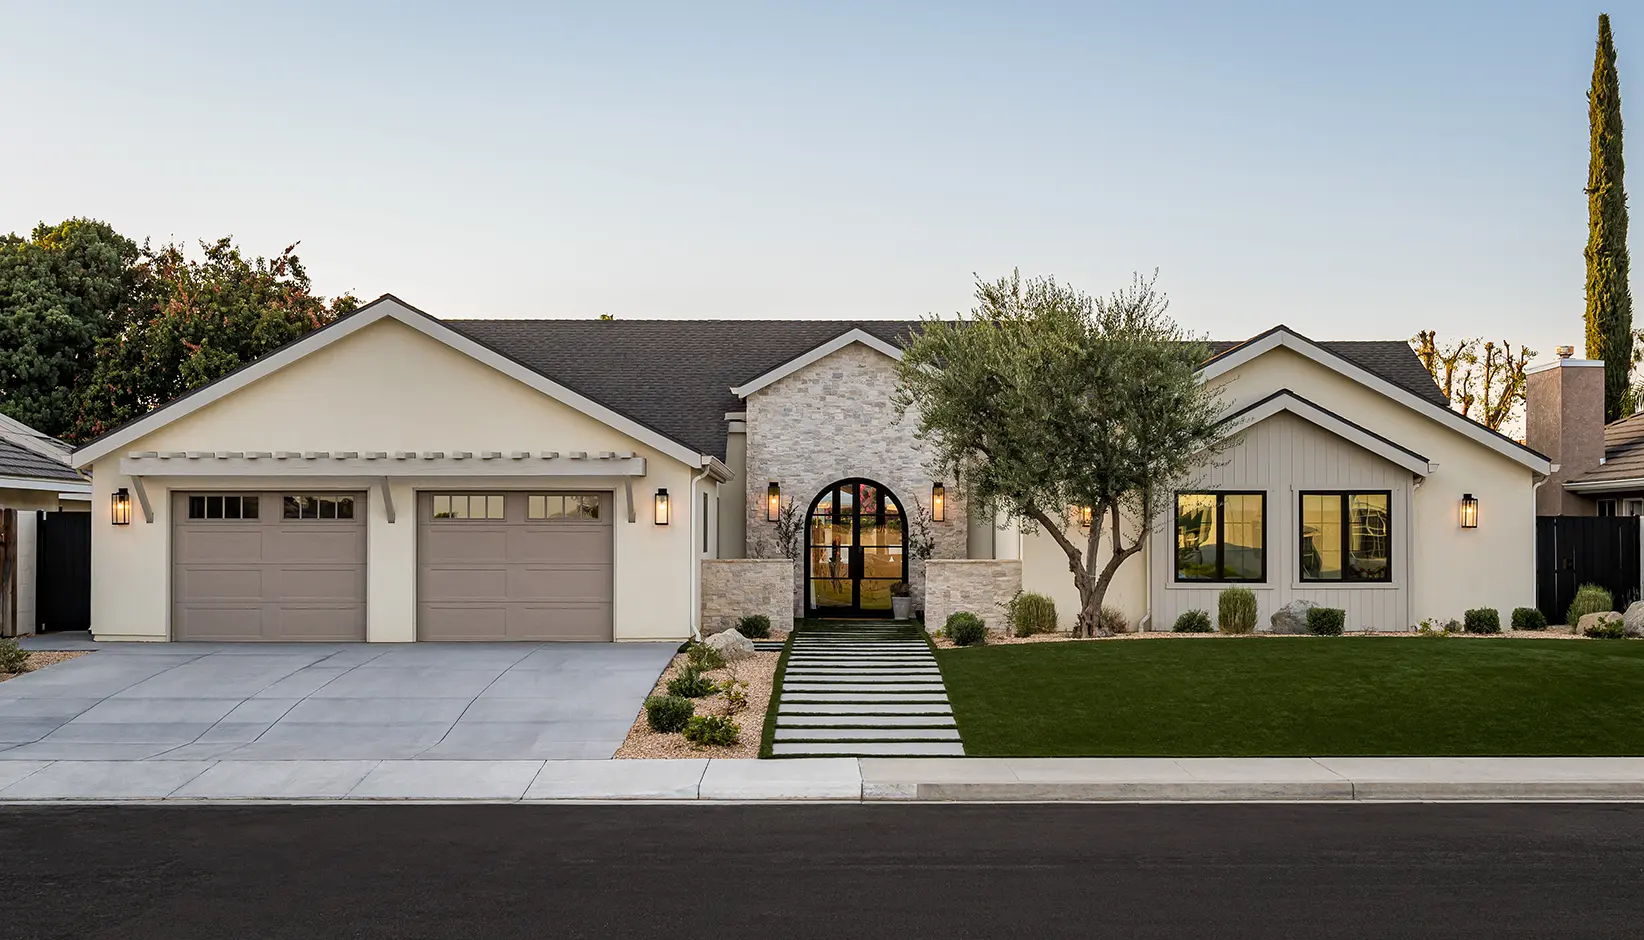
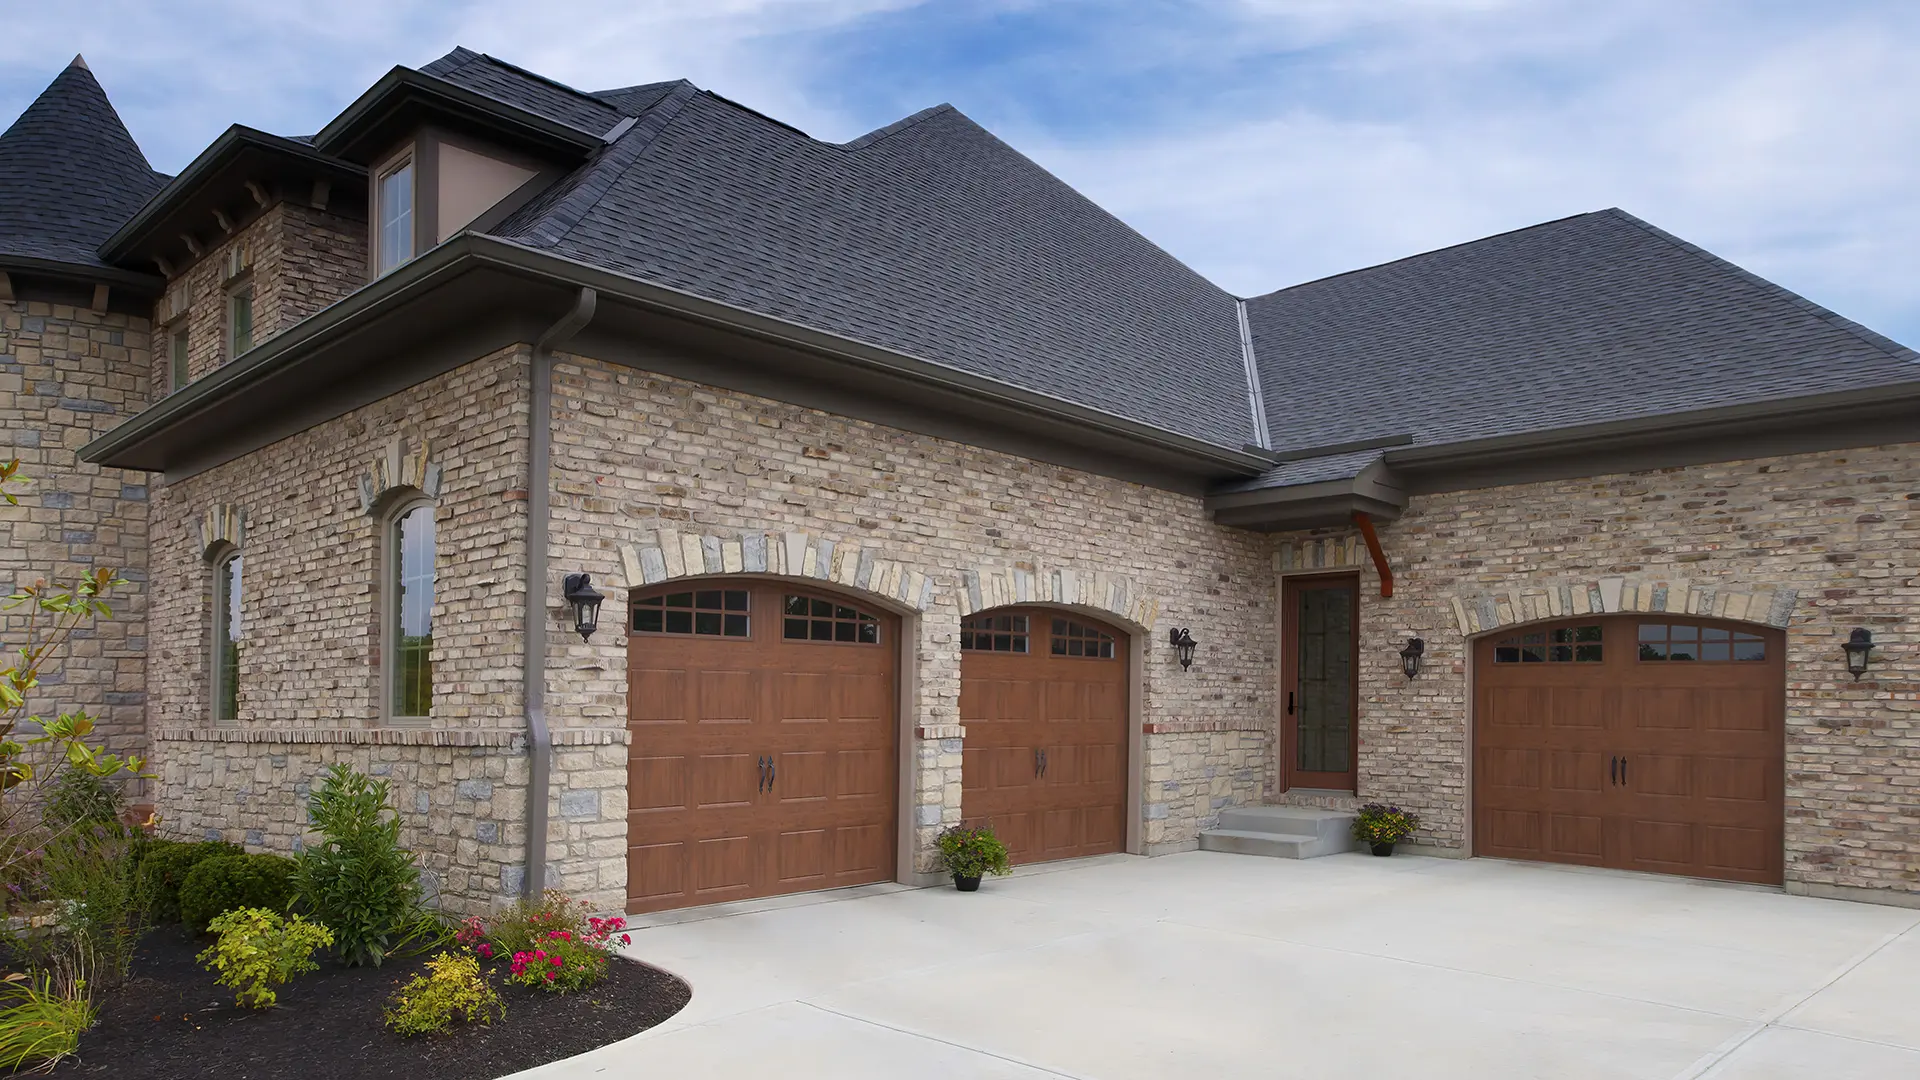
Bridgeport™ Steel garage door in Sandtone
But the sun isn’t working alone. Rain, snow, and the cycle of freezing and thawing can all speed up the fading process. Water can seep into small cracks or chips, making paint peel or flake. Extreme temperatures—whether it’s a summer heatwave or a deep winter freeze—also put stress on both the paint and the door itself. Metal doors may expand and contract, while wood can swell or shrink, both leading to a finish that deteriorates faster.
Paint quality matters more than most people realize. Using a low-quality paint or skipping the right primer can leave a garage door vulnerable, especially if it’s made of steel or wood. These materials are especially prone to fading because their surfaces react more with the environment than something like fiberglass. Steel doors might show rust spots after the paint starts to wear thin, while wood can dry out and lose its color fast, especially if it’s not sealed properly. The good news is that with the right products and some know-how, a garage door restoration can make a faded door look fresh again.
Tools and Materials You’ll Need
Before you jump into a DIY garage door restoration, it pays to pull together all your supplies. A smooth, long-lasting result starts with the right tools and materials. And a little prep goes a long way when you’re ready to repaint a garage door.
Start with cleaning supplies. You’ll want a bucket of warm water, mild soap (dish soap or a household cleaner works well), sponges, and a stiff-bristled brush. Getting rid of dirt, grease, and old cobwebs is the first step to making sure primer and paint actually stick. If your door has stubborn stains or mildew, consider a garage-safe cleaner.
Next, grab sandpaper (medium and fine grit). Sanding the surface removes any loose paint and smooths out small imperfections, especially on wood or steel doors. For corners and tight spots, a sanding sponge can make the job easier.
Painter’s tape is a must for protecting hardware and trim. Lay down drop cloths to keep paint off your driveway and surrounding areas. Safety glasses and gloves will protect you from dust and drips during sanding and painting.
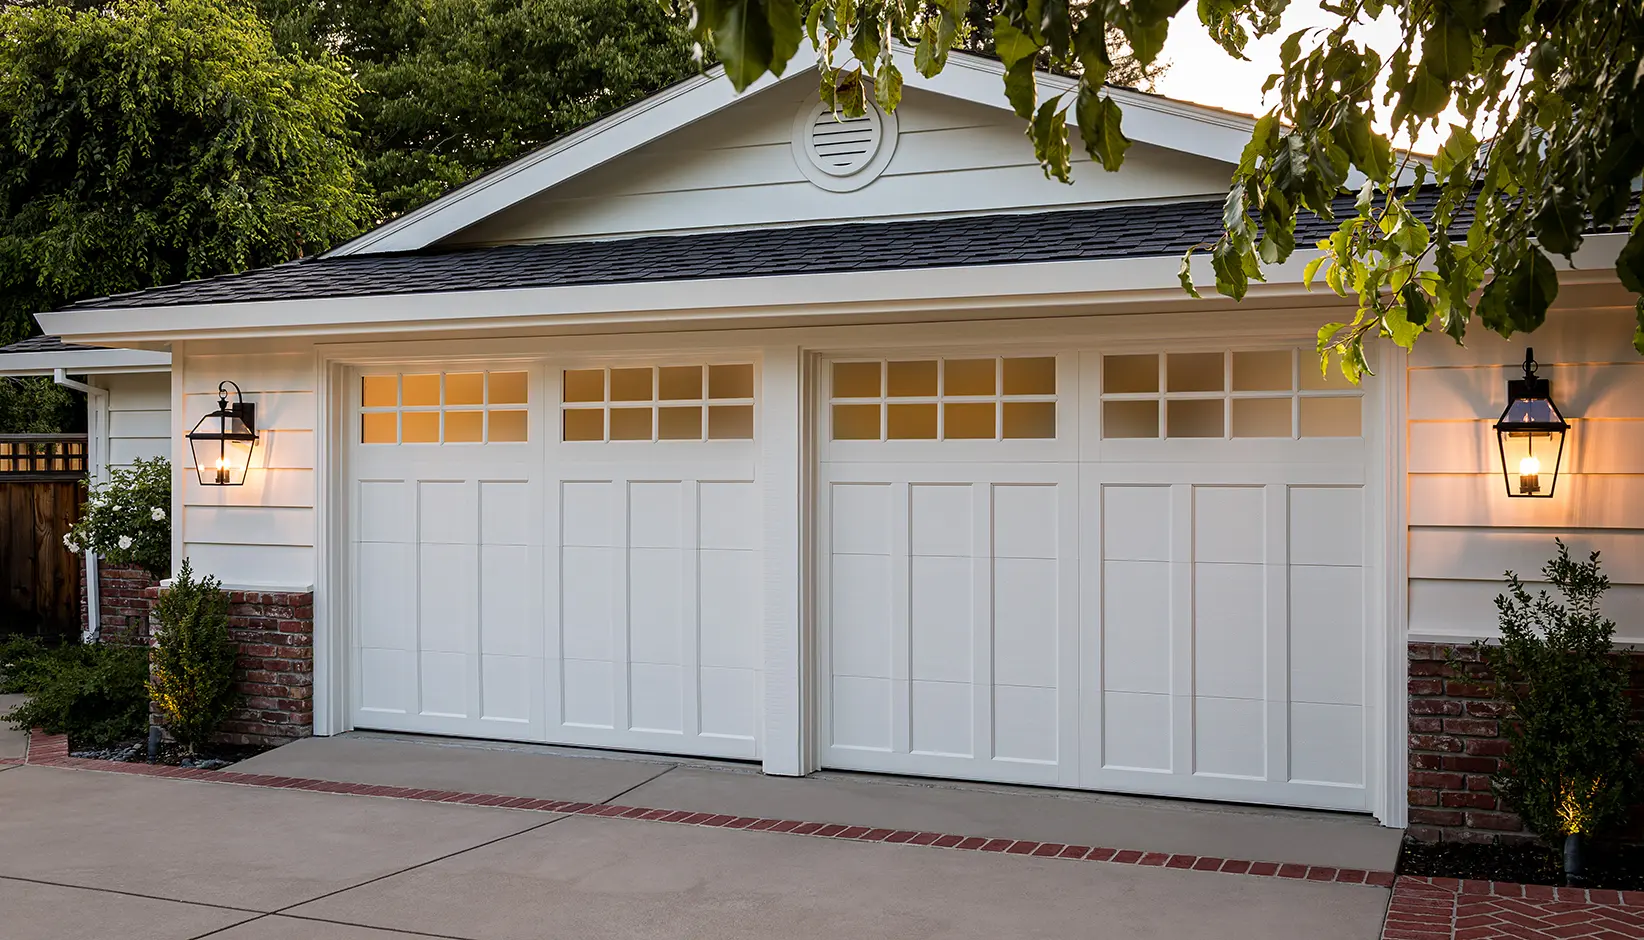
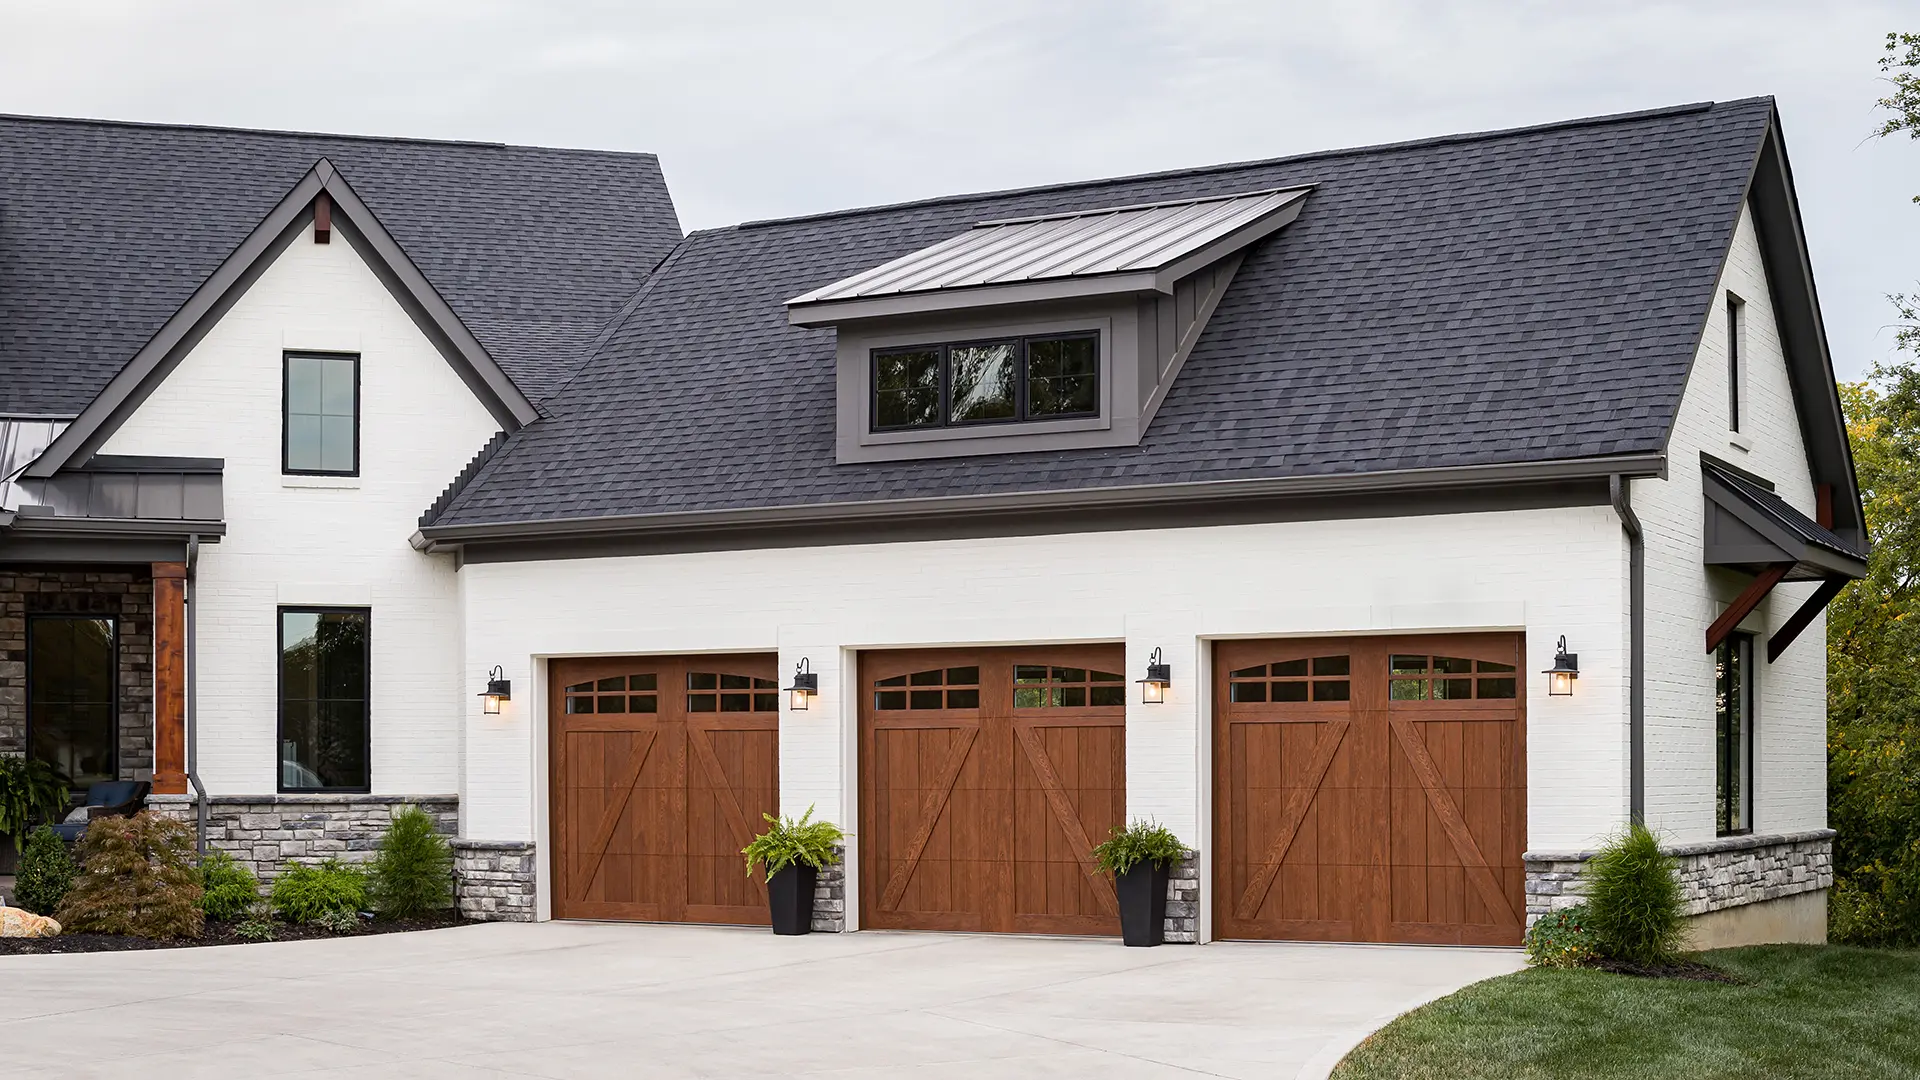
Coachman® garage door in white
Clopay® garage doors can be painted with any high-quality exterior latex paint, and most are available from the factory already primed. Do not use oil-based paint. There are some restrictions regarding color for the Coachman® collection so be sure to review what works and what doesn’t. For wood doors, we recommend re-painting every 1 to 2 years.
As for application, you’ll need both paintbrushes for detail work and rollers for large, flat sections. Don’t skimp on these tools; brushes and rollers meant for exterior surfaces will help you get a smooth, professional finish.
Step-by-Step Guide to Restoring a Faded Garage Door
Restoring a faded garage door doesn’t require professional skills—just some patience and the right approach. Here’s a step-by-step guide to DIY garage door restoration that will help you bring back the color and curb appeal.
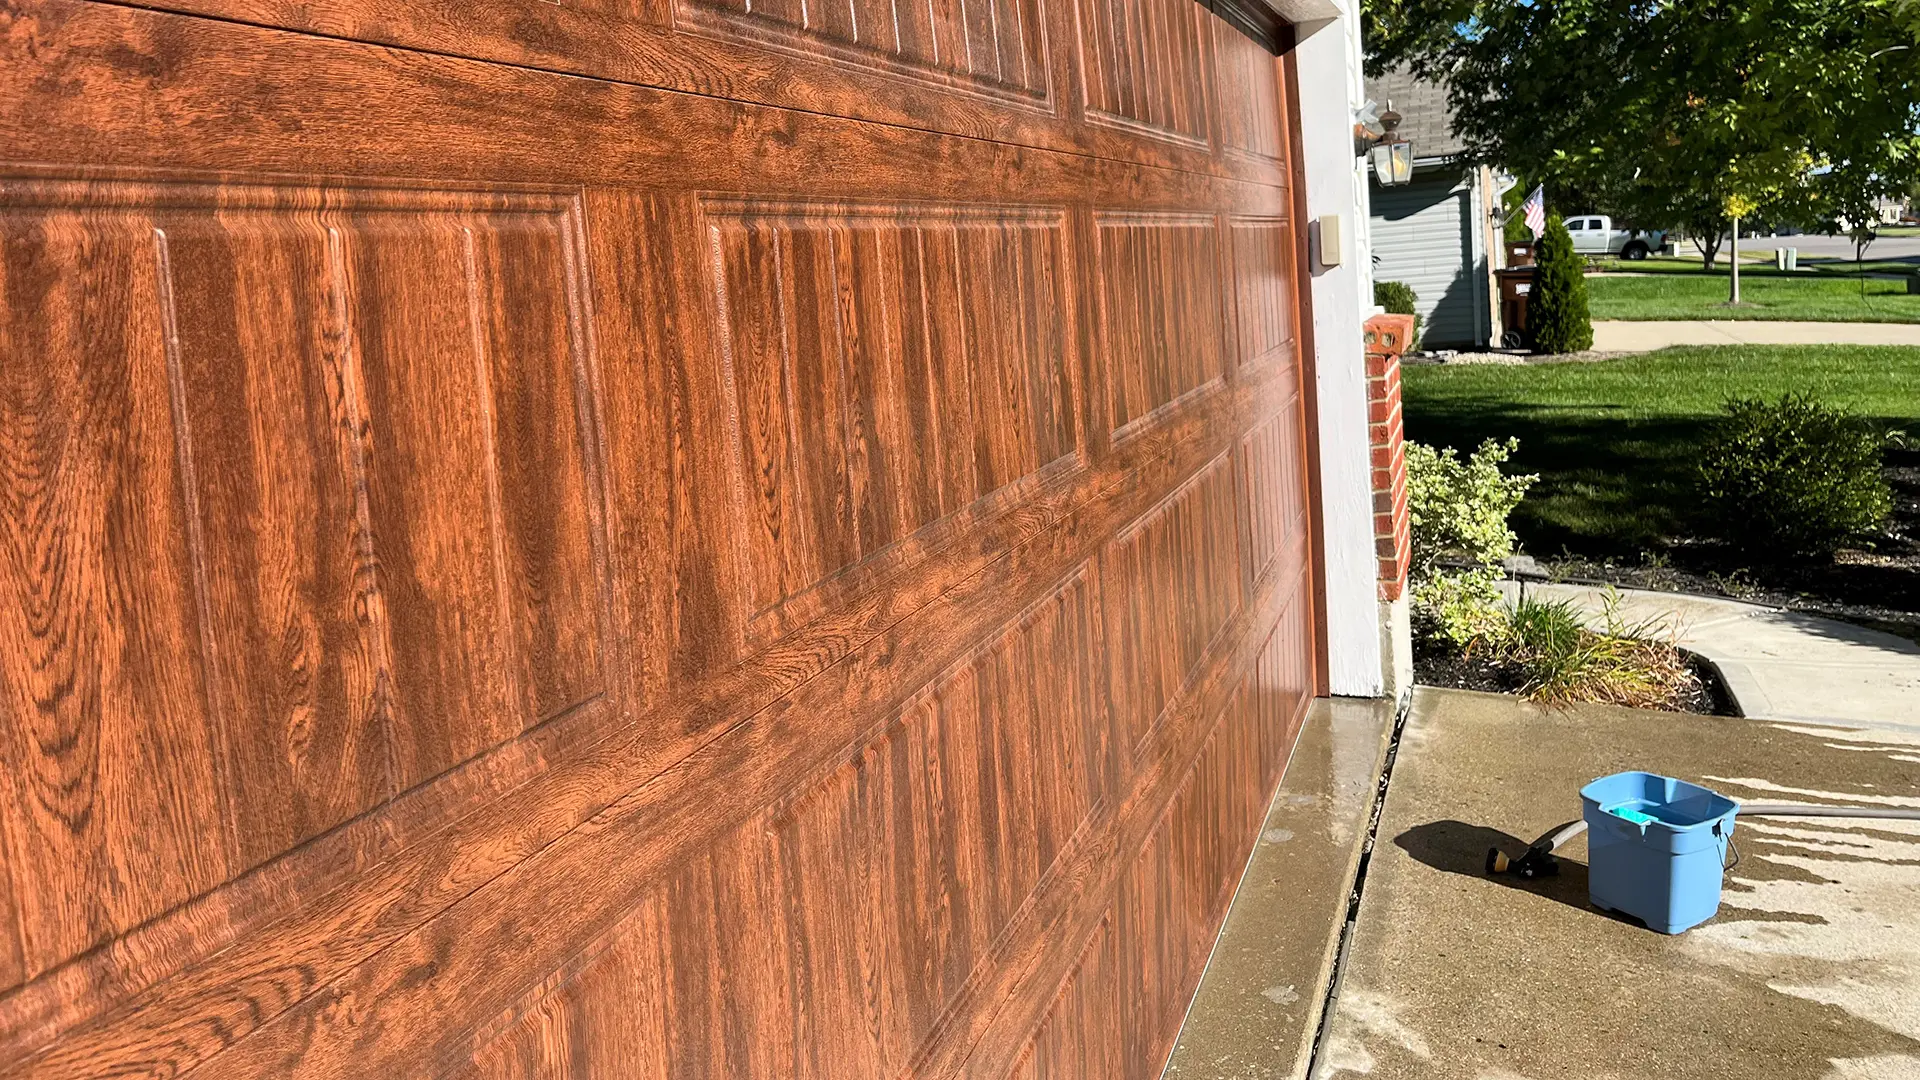
Step 1: Cleaning the Garage Door
A clean surface is the foundation of any good paint job. Start by mixing warm water and mild soap in a bucket. Use a sponge or soft brush to scrub away dirt, dust, cobwebs, and any mildew or algae that may have taken hold. Pay close attention to corners and crevices, where debris tends to collect. For stubborn stains, a gentle household cleaner or a mix of water and white vinegar can help. Once the door is clean, rinse thoroughly with a hose to wash away all soap residue. Let the door dry completely before moving on. This prevents moisture from getting trapped under new paint.
Step 2: Sanding the Surface
Sanding is key for a smooth, long-lasting finish, especially if you’re working with a faded garage door repair on wood or steel. Use medium-grit sandpaper (around 120–150 grit) to smooth out faded areas and feather the edges of any peeling paint. For rust spots on steel doors, use a wire brush or sanding sponge to remove as much rust as possible. After sanding, wipe down the entire surface with a damp cloth to remove dust. This helps primer and paint stick evenly.
Step 3: Applying Primer
Priming is essential, especially if you’re switching colors or working with bare wood or metal. Using a good exterior primer, apply a thin, even coat across the whole surface. Use a brush for tight spaces and a roller for large panels. Primer helps seal the surface, blocks stains, and gives the paint something to grip. Let the primer dry completely—this usually takes a few hours but follow the manufacturer’s instructions for best results.
Step 4: Painting the Garage Door
Now comes the fun part. Choose the best paint for garage doors, ideally an exterior-grade latex paint formulated for your door’s material. Start with the first coat, using a brush for edges and details, and a roller for larger flat sections. Apply paint in long, even strokes, working from top to bottom. Allow this first coat to dry all the way through (don’t rush it, even if it looks dry on the surface). Once dry, apply a second coat for richer color and extra durability.
Step 5: Adding Finishing Touches
After the final coat is dry, gently remove any painter’s tape from around windows, handles, or trim. Step back and inspect the door. If you spot any thin spots or small imperfections, use a small brush for touch-ups.
With these steps, garage door restoration becomes a manageable weekend project. Not only does it boost curb appeal, but it can extend the life of your existing door (saving you money!).
Choosing the Right Paint
Picking the right paint makes all the difference when you’re ready to repaint a garage door. Not all paints are created equal and choosing one designed for your specific door material will help your garage door restoration last longer and look better.
For steel and aluminum garage doors, look for a high-quality exterior latex paint. These formulas are flexible, resist chipping, and hold up well against sun and rain. If you have a wood garage door, an exterior latex paint with a mildew-resistant finish is ideal, since wood tends to absorb moisture. Always check the paint label to double-check compatibility with your door’s surface.
Weather resistance is non-negotiable. Pick a paint that specifically mentions UV resistance and durability against rain, snow, and temperature swings. This helps prevent the fading and peeling that comes from constant exposure to the elements.

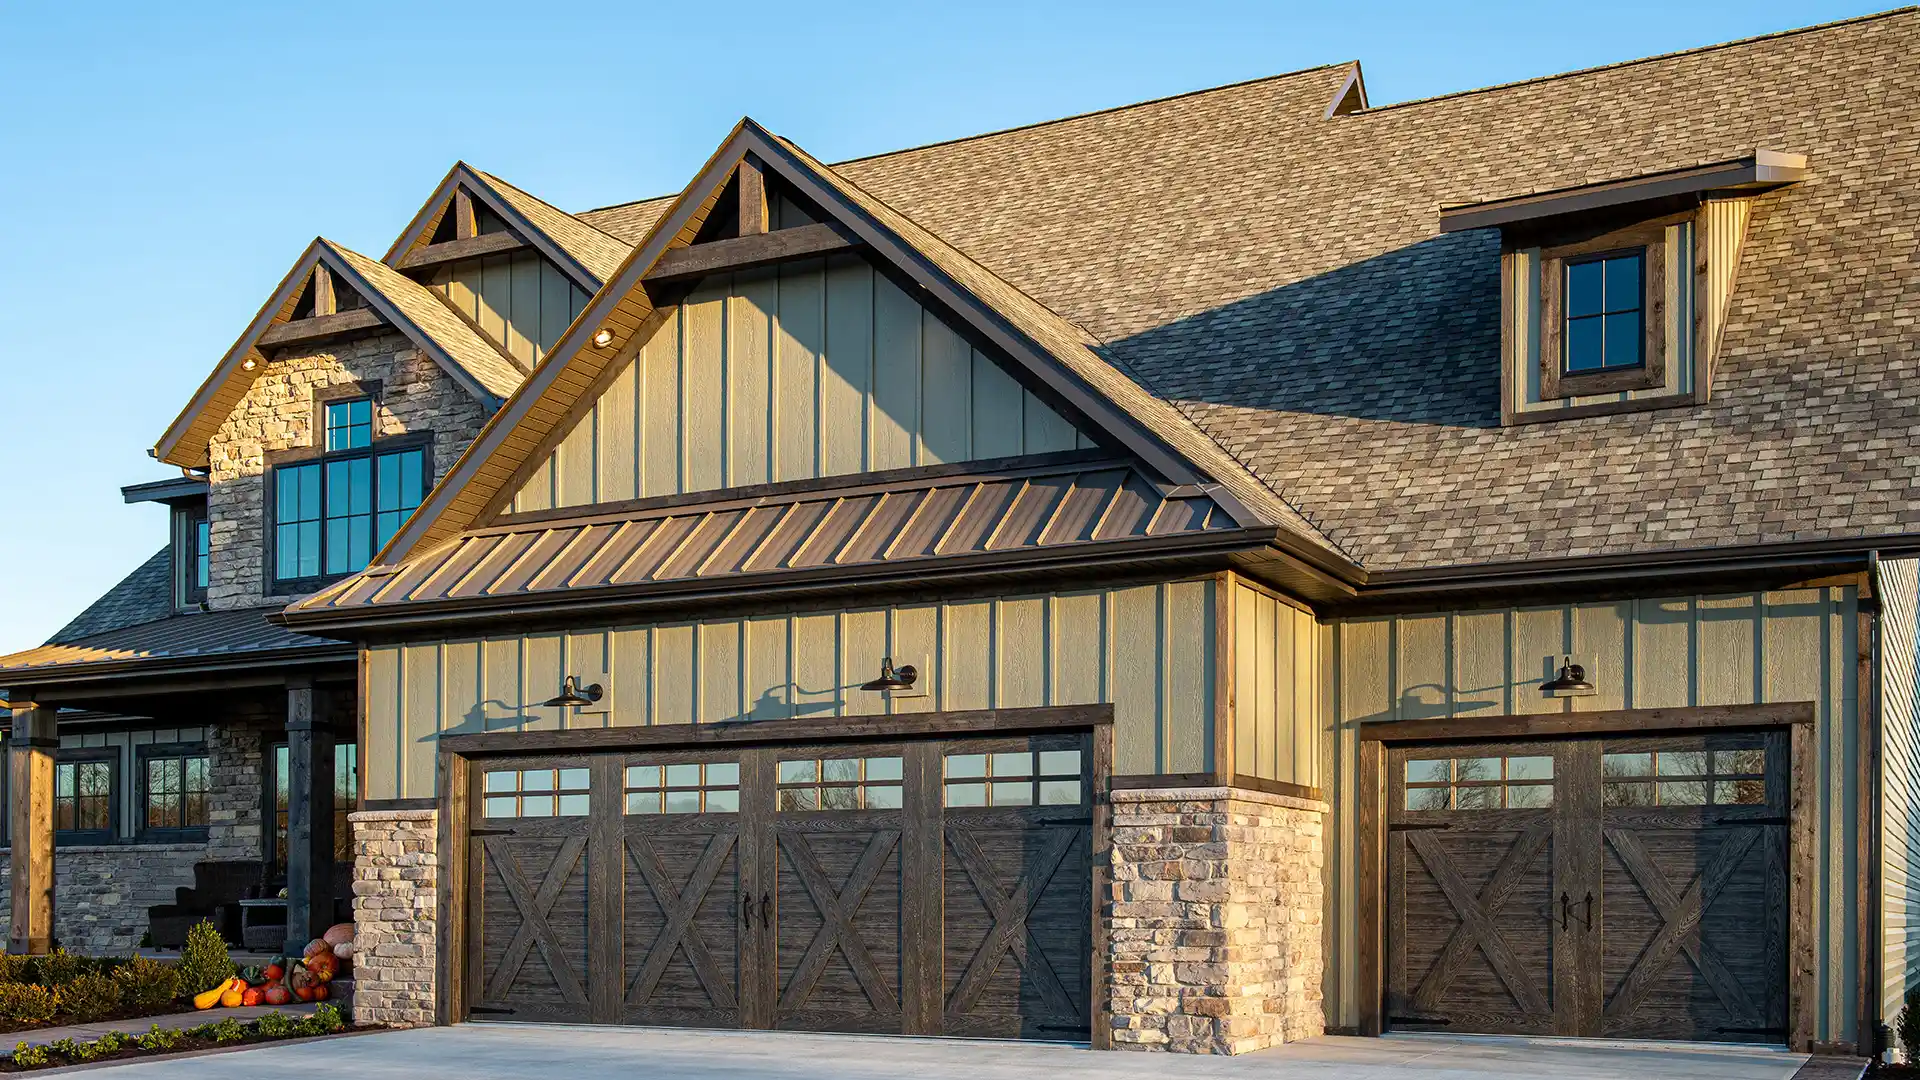
Canyon Ridge® Elements in custom color
Color is a personal choice, but it’s smart to choose a shade that fits your home’s exterior and doesn’t clash with siding or trim. Neutrals tend to stay in style, but a bold color can make a memorable statement.
Finally, don’t skip the primer. Using a quality exterior primer tailored to your door’s material seals the surface and helps your paint job last.
Maintenance Tips to Prevent Fading
Once you’ve finished your garage door restoration, a few simple habits can help keep that fresh look. Start by giving the door a gentle wash every few months. Use mild soap and water to remove dirt, dust, and road grime which can wear down paint over time if they’re left to build up. Rinse thoroughly and let the door dry in the sun.
Applying a protective sealant or automotive-grade wax to the painted surface adds an extra layer of defense. These products help repel water and dirt, and they can slow down the fading effect of UV rays. Just make sure any sealant or wax you use is safe for your door’s material and finish. You’ll usually only need to reapply once or twice a year for lasting results.
If your garage door gets a lot of direct sun, consider adding shade with landscaping. Planting trees or shrubs nearby can block some of the harshest rays, keeping the color of your repainted garage door vibrant for longer. Regular touch-ups are also a good idea—if you notice a chip or scratch, a quick paint fix can prevent bigger problems down the line.
Restoring a faded garage door boosts curb appeal, extends the life of your door, and saves money compared to replacement. With the right steps and a little effort, you can achieve great results on your own. For expert advice or professional help, contact your local Clopay® dealer for trusted garage door services.